
A bulk apparel order can look perfect on a digital mockup and still disappoint when it reaches your team. A collar may sit too softly, a print may feel heavier than expected, or a navy fabric may look different under office lighting than it did on screen. This branded apparel sampling guide helps procurement teams, marketers, HR managers, and event organizers turn an approved idea into a production-ready order with fewer assumptions.
A sample is not just a preview. It is the physical standard that aligns your team, your supplier, and the factory before quantity, deadlines, and budgets are committed. The right sampling process protects brand consistency while giving you a clear opportunity to correct details when changes are still manageable.
Why Apparel Sampling Matters Before Bulk Production
Custom apparel combines several production variables at once: garment construction, fabric weight, sizing, color, artwork placement, decoration method, accessories, and packaging. Each decision can affect the final result. Reviewing a sample lets you assess how those elements work together rather than approving each one in isolation.
For a corporate uniform, the priority may be consistent sizing, a professional silhouette, and embroidery that remains sharp after repeated washing. For a campaign T-shirt, color impact and print vibrancy may matter most. For sports jerseys, you may need to evaluate moisture management, stretch, player names, and number placement. The sample should reflect the risks that matter to your particular order.
Skipping this stage can save a few days at the beginning, but it can create costly delays later. If a design issue is found after bulk production begins, correcting it may affect delivery dates, minimum quantities, and budget. A documented approval gives every party one clear reference point.
Start the Branded Apparel Sampling Guide With a Clear Brief
A good sample begins with a specific production brief. A logo file alone is not enough to establish what should be made. Your supplier needs the details that define the finished garment, including the intended audience, use case, order quantity, required delivery date, and branding priorities.
Specify the garment type and fabric expectations. For example, a 100% cotton T-shirt may suit a casual staff event, while a polyester polo can be a better fit for active teams that need quicker drying performance. If your brand has exact color requirements, provide Pantone references where possible. Screen colors and fabric colors are not identical, so a physical reference remains valuable.
Your brief should also state where artwork belongs and how large it should appear. “Logo on left chest” leaves room for interpretation. A more useful instruction identifies the width, distance from seams, decoration technique, and whether the placement should be consistent across all sizes. This becomes especially important when artwork is used on youth, unisex, and extended-size garments.
Include the details that affect production
Before sampling begins, confirm the garment color, size range, quantity by size, artwork files, decoration locations, thread or ink colors, labels, individual names or numbering, and packaging needs. If you require custom-dyed fabric, contrast piping, woven labels, zipper pulls, or other personalized accessories, identify them early. These elements may require additional development time and should be included in the sample plan whenever possible.
Choose the Right Type of Sample
Not every project requires the same sample. The appropriate option depends on how customized the garment is, how much risk is involved, and how close the order is to final approval.
A blank garment sample is useful when your first concern is fit, fabric, and garment quality. It allows stakeholders to try on sizes and assess comfort before artwork is applied. This is often a practical first step for uniform programs with a broad employee size range.
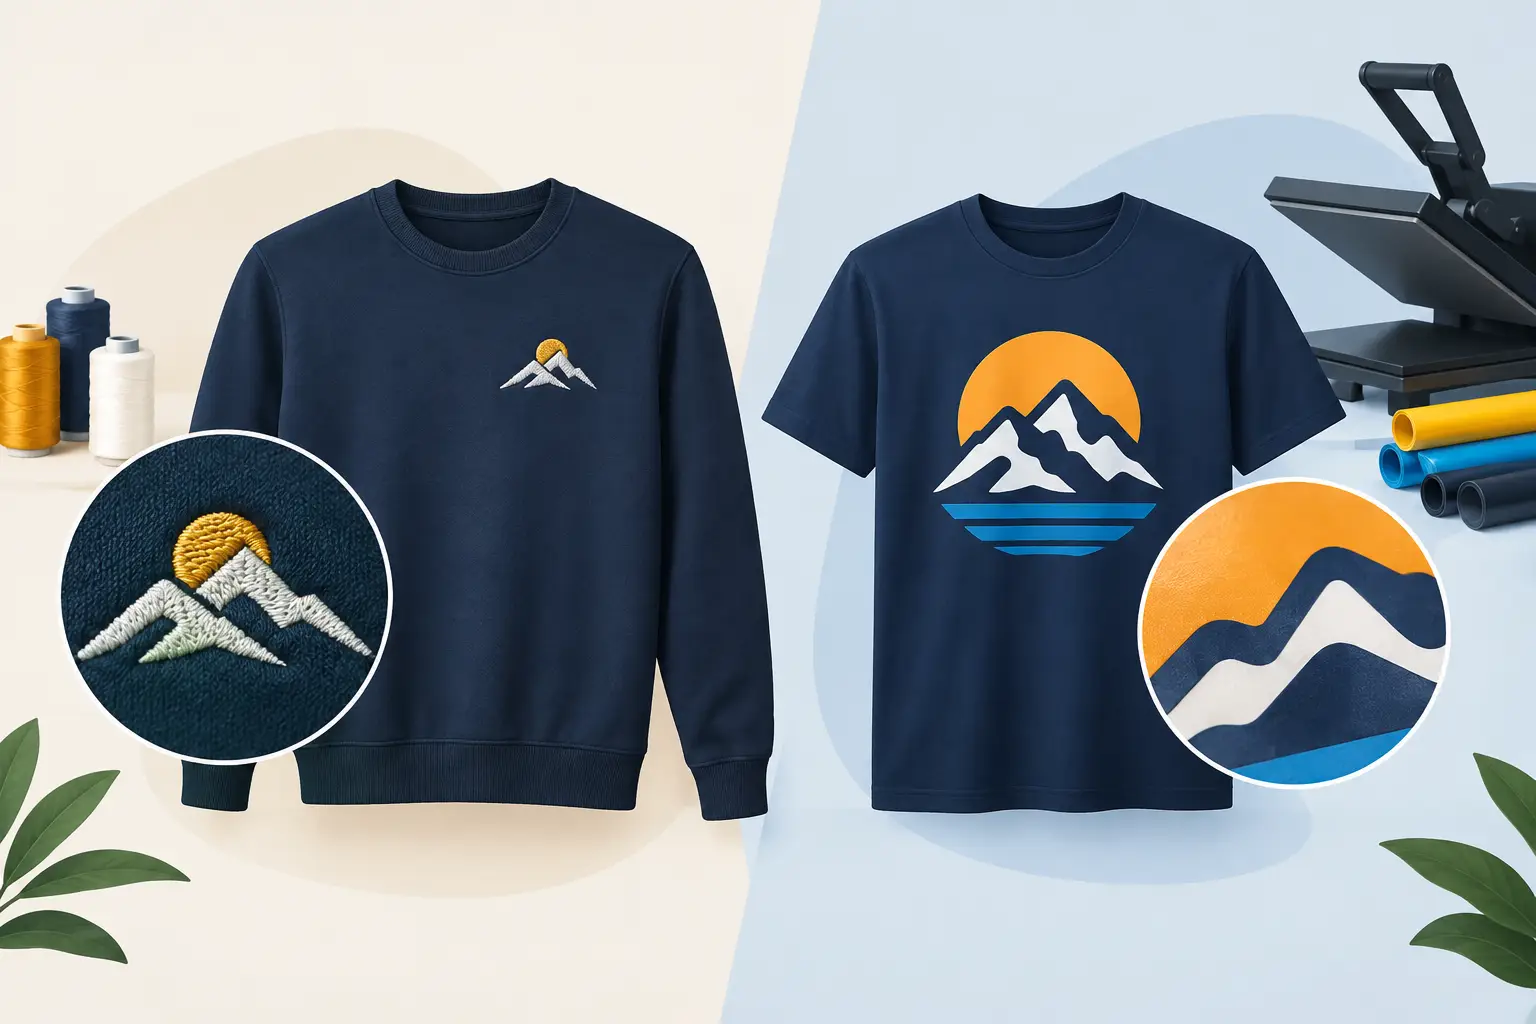
A decoration strike-off focuses on the logo or graphic. It shows how embroidery, screen printing, heat transfer, direct-to-garment printing, or sublimation will look on the selected fabric. This matters because fine text, gradients, thread density, and fabric texture can alter the appearance of a design.
A pre-production sample is the closest representation of the final bulk order. It should include the approved garment, color, decoration, placement, labels, and key finishing details. For highly customized apparel, this is the sample that should receive formal sign-off before mass production begins.
There is a trade-off. A more complete sample offers more certainty but can take longer and cost more than a basic blank or strike-off. For a simple repeat order with an established design, a decoration approval may be enough. For a first-time uniform rollout, national campaign, school apparel program, or event with a fixed date, the investment in a full pre-production sample is usually justified.
How to Evaluate a Branded Apparel Sample
Review the sample in normal use conditions, not only under bright showroom lights. Ask a few representative wearers to try it on, move in it, and comment on comfort. A garment that feels acceptable on a hanger may pull across the shoulders, ride up during activity, or feel too warm for a work environment.
Check fabric quality first. Look at weight, softness, stretch, opacity, breathability, and recovery after movement. Hold light-colored garments up to the light if opacity matters. Consider whether the fabric supports the intended decoration. Fine jersey cotton may produce a different print finish than a textured performance polyester.
Next, inspect construction. Review stitching consistency, seam alignment, collar shape, button placement, ribbing, hems, side panels, and pocket attachment where applicable. For workwear and uniforms, stress points deserve extra attention. For event merchandise, the garment still needs to feel polished enough that recipients will want to wear it again.
Review decoration with a critical eye
Compare the logo against your approved artwork and color references. Check whether the print is centered, whether embroidery is clean around small letters, and whether colors retain their contrast against the garment. A dark logo on a dark shirt may be technically correct but still lack visibility from a practical branding perspective.
Feel the decoration as well as viewing it. An oversized screen print can become stiff, while overly dense embroidery can pucker lightweight fabric. Heat transfers should adhere cleanly around fine edges. Sublimation should show consistent color across panels, especially on jerseys with white or light sections.
Placement should be measured, not judged only by eye. A left-chest logo that looks correct on a medium shirt can appear too low on a larger size if placement is not adjusted thoughtfully. Confirm the agreed measurement method and allow for normal manufacturing tolerances.
Test the Sample Beyond First Appearance
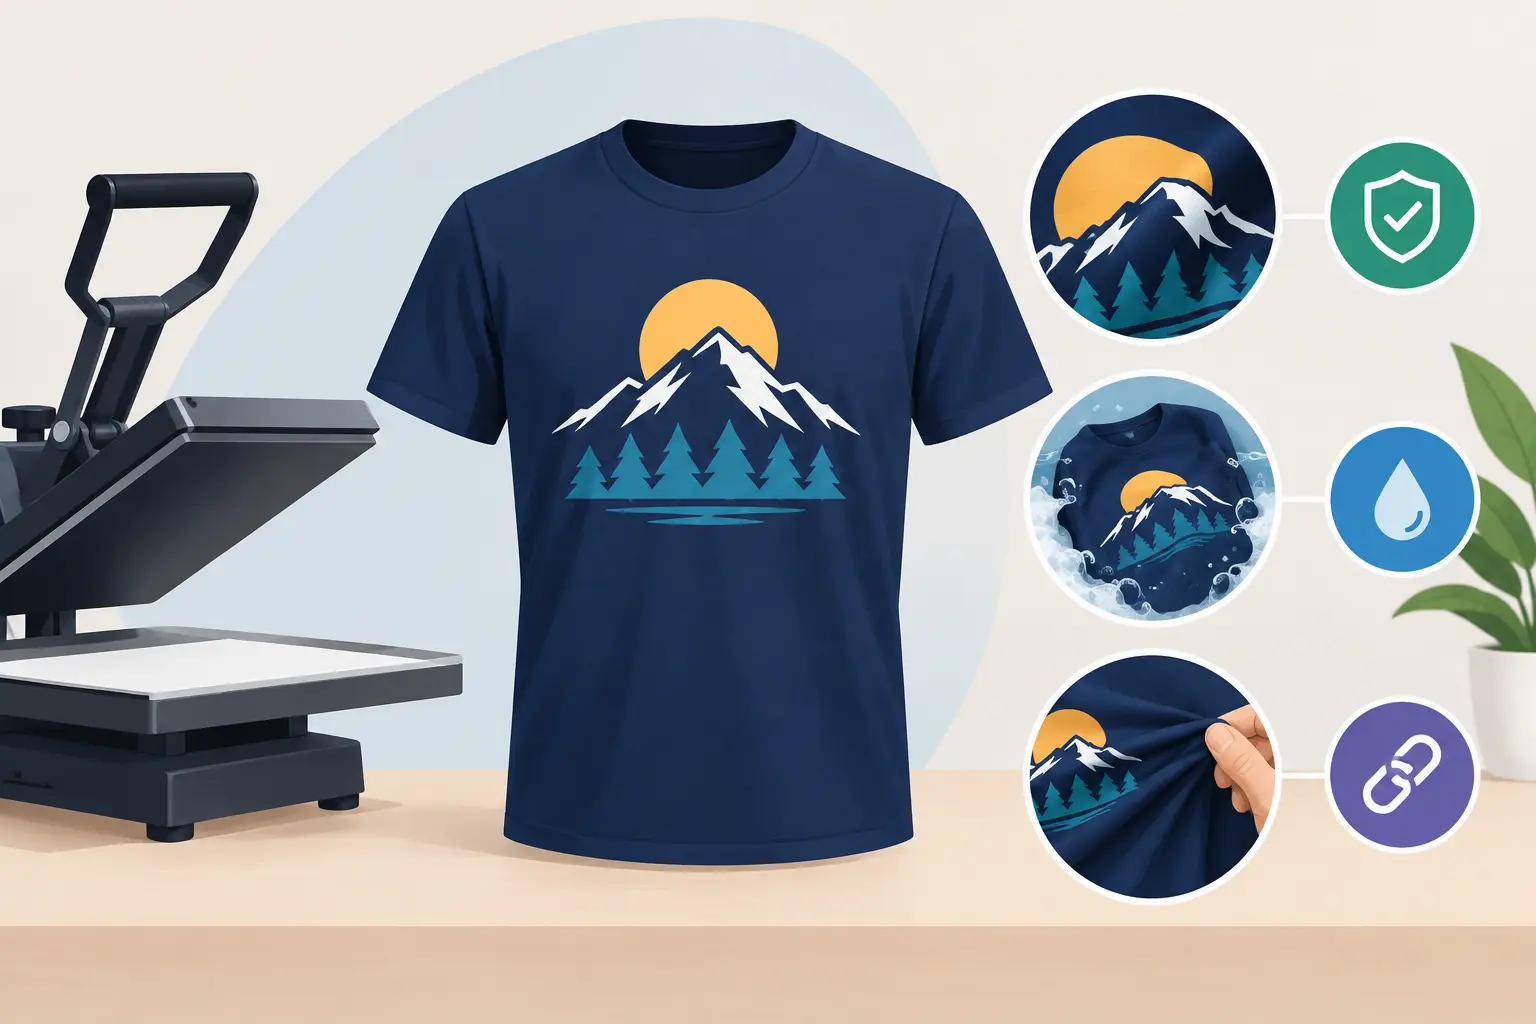
If the apparel will be worn repeatedly, basic wear testing is worthwhile. Wash the sample according to the intended care instructions and inspect it afterward. Look for shrinkage, twisting, color bleeding, cracking prints, lifting transfers, or changes in embroidery shape.
Not every order needs an extended test cycle. A one-day promotional event shirt has different durability demands than a restaurant uniform or field-service polo. Still, if the garment represents your organization over months of use, testing before production is a sensible quality-control step.
Also consider the distribution experience. Confirm size labels are clear, individual names are spelled correctly, and packaging suits the way the order will be issued. An HR team distributing uniforms by department may need garments packed by employee. An event organizer may need them sorted by size for a registration desk. These operational details are part of a successful apparel order, not an afterthought.
Record Changes and Give One Final Approval
Sampling works best when feedback comes through one designated decision-maker or an organized approval process. Conflicting comments from multiple departments can slow production and create uncertainty. Consolidate feedback into clear actions: approve, revise, or resample.
When changes are requested, write them in measurable terms. Instead of “make the logo slightly bigger,” state the desired width. Instead of “use a brighter blue,” provide the approved color reference or compare it with the submitted sample. Keep photos, dated comments, artwork versions, and the final approval record together.
Once the pre-production sample is approved, treat it as the production benchmark. Changes after approval may affect lead time and cost, particularly if fabric, decoration, or custom components have already been scheduled. A reliable production partner will flag these implications clearly so you can make an informed decision before moving forward.
At Green Cotton, sampling is part of taking responsibility for your identity, not an unnecessary delay before manufacturing. Give the sample the attention your final order deserves, and it can become the clearest assurance that every garment delivered will represent your team, campaign, or organization with confidence.