
A staff polo can look excellent in a digital mockup and still fail the moment it is worn. The collar may sit too softly, the logo may be undersized, the navy fabric may read almost black outdoors, or the size run may not suit the people expected to wear it. That is why the custom apparel sampling process matters. It turns an approved idea into a physical product your organization can inspect, test, and approve before bulk production begins.
For procurement teams, HR managers, marketers, school administrators, and event coordinators, sampling is not an unnecessary delay. It is the control point that protects your budget, brand standards, and delivery schedule. A good sample makes decisions easier because everyone is reviewing the same garment, the same decoration placement, and the same construction details.
What a Custom Apparel Sample Is Designed to Prove
A sample is more than a prototype. It is the working reference for production. Depending on the order, it may confirm the garment silhouette, fabric weight and composition, color, size measurements, print or embroidery method, logo placement, accessories, labels, and finishing requirements.
The level of sampling should match the risk of the project. A straightforward order of standard cotton T-shirts with a one-color chest print may only need a decorated pre-production sample. A fully custom sports jersey, corporate uniform collection, or custom-dyed garment deserves a more detailed review. When multiple departments will wear the apparel, fit testing across a representative group is often worth the extra time.
The goal is simple: remove assumptions before they become hundreds or thousands of finished pieces.
Step 1: Build a Production-Ready Brief
Strong samples begin with clear information. Before a factory can produce an accurate garment, it needs more than a logo file and a general description such as “premium polo.” It needs the details that define what premium means for your organization.
Start with the garment category, intended use, estimated quantity, size range, target delivery date, and budget range. Then specify fabric preferences, such as cotton, cotton blend, moisture-wicking polyester, or performance interlock. For workwear, practical requirements may include durability, visibility, pocket configuration, or easy-care performance. For event apparel, the priority may be color impact, comfort, and a decoration method that supports a detailed campaign graphic.
Artwork should be supplied in a high-quality vector format whenever possible. Confirm brand colors using a recognized color reference, not only a screen image. Screens, printers, and fabric bases can all affect how color appears. If your logo has fine lines, gradients, or small text, flag that early so the proposed decoration method can be assessed properly.
A complete brief also records the details that are easy to overlook: logo locations, maximum print dimensions, embroidery size, neck label content, woven tags, buttons, zipper colors, packaging, and individual naming or numbering. Clear specifications reduce revisions and give the sample a defined approval standard.
Step 2: Choose the Garment and Decoration Method
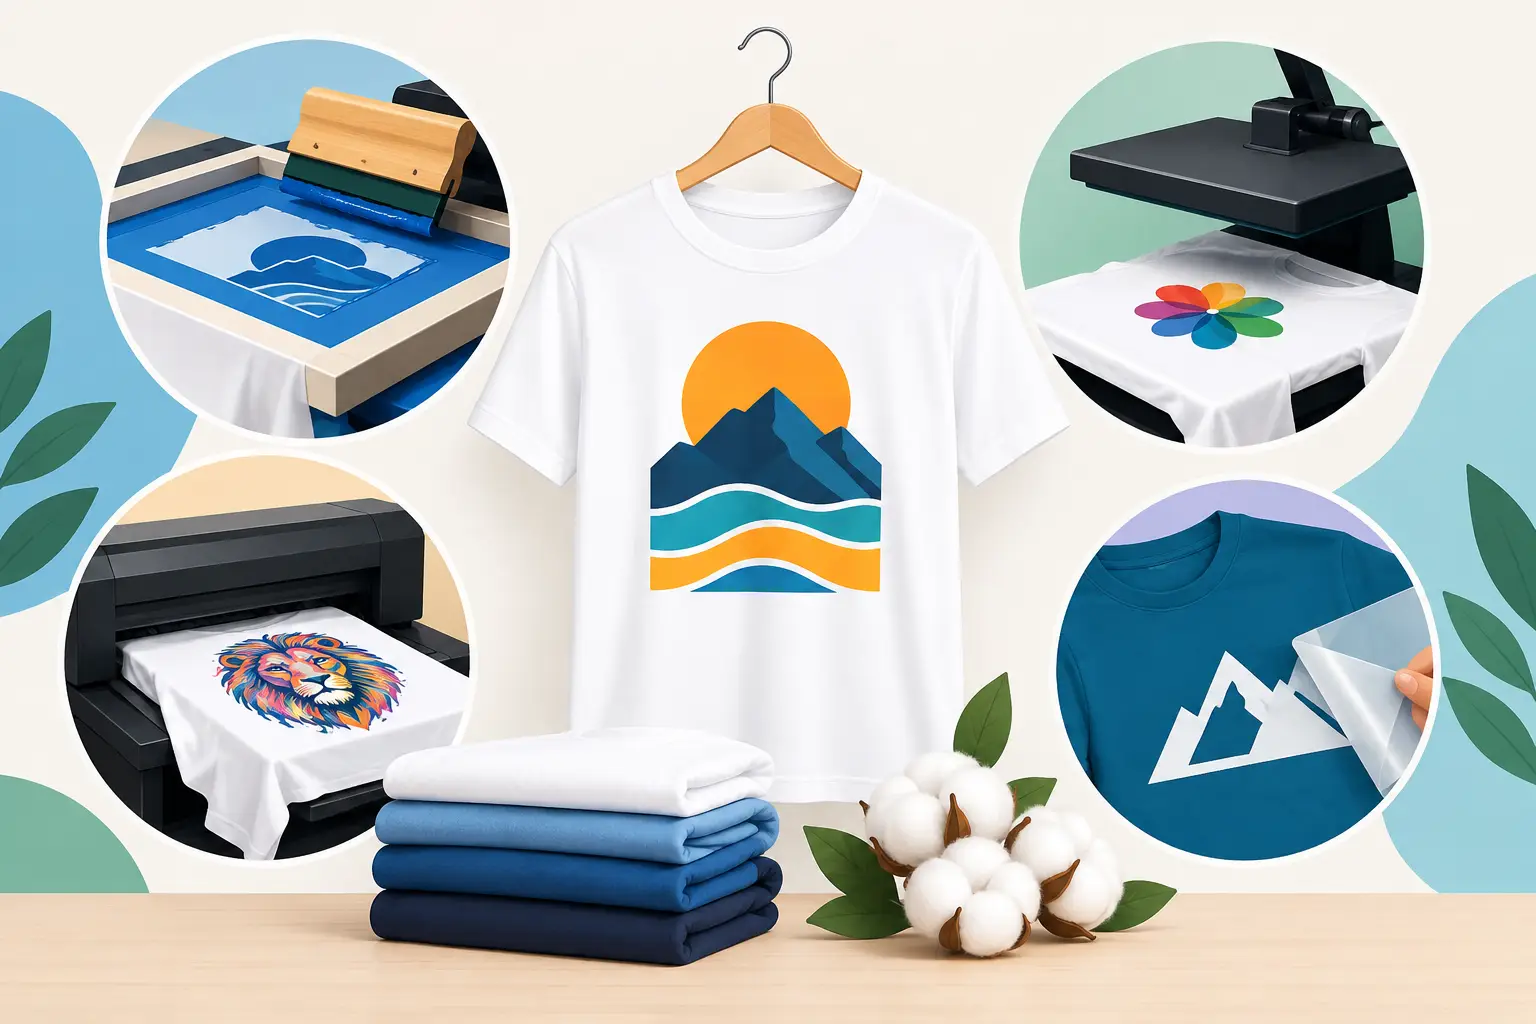
The garment and decoration technique must work together. A high-detail promotional design may perform best with direct-to-garment printing or heat transfer on an appropriate fabric. A bold design for a large team order may be better suited to screen printing. Embroidery gives polos, caps, jackets, and corporate uniforms a dimensional, durable finish, but very small wording or intricate gradients may lose clarity in thread.
Sublimation is an excellent option for full-coverage graphics on polyester sportswear because the design becomes part of the fabric rather than sitting on top of it. However, it is not the universal answer for every garment. It depends on fabric composition, desired finish, and artwork requirements.
This is where production guidance has real value. The lowest-cost method is not automatically the best commercial choice. If an event shirt will be worn once, the requirement differs from a daily uniform that must retain its shape and branding after repeated washing. Green Cotton helps clients align fabric, construction, and decoration choices with the garment’s real-world use before sampling starts.
Step 3: Review the Digital Proof Before Physical Sampling
A digital proof is the first checkpoint. It shows the proposed garment color, artwork scale, placement, and visible custom features. Review it carefully, but do not treat it as a complete substitute for a physical sample.
At this stage, check whether the logo is centered relative to seams, plackets, pockets, or panels. Confirm that the left-chest logo is placed consistently, that a back print clears the collar area, and that any sponsor marks have the correct hierarchy. For uniforms, compare the proposed layout against your brand guidelines. For sports jerseys, confirm player names, numbers, and team marks before variable data is applied.
Make approvals specific. Rather than replying with “looks good,” approve the design reference, garment color, artwork placement, dimensions, and stated decoration method. If changes are requested, consolidate them into one clear revision. Fragmented feedback creates avoidable version confusion and can extend the timeline.
Step 4: Inspect the Physical Custom Apparel Sample
The physical sample is where the project becomes real. Assess it under normal indoor lighting and, when color is particularly important, in daylight as well. Hold it up, lay it flat, and try it on. A garment that photographs well may reveal issues in fit, fabric hand feel, or print scale when handled.
Check the following areas as a connected whole:
- Fabric and construction: Does the weight feel appropriate? Are seams neat, collars stable, and panels aligned? Does the garment suit the climate and activity level of the wearer?
- Color accuracy: Does the garment base match the approved standard closely enough? Does the printed or embroidered logo maintain its intended brand character against that fabric?
- Decoration quality: Look for sharp edges, legible small text, even ink coverage, clean embroidery, secure transfers, and accurate registration between colors.
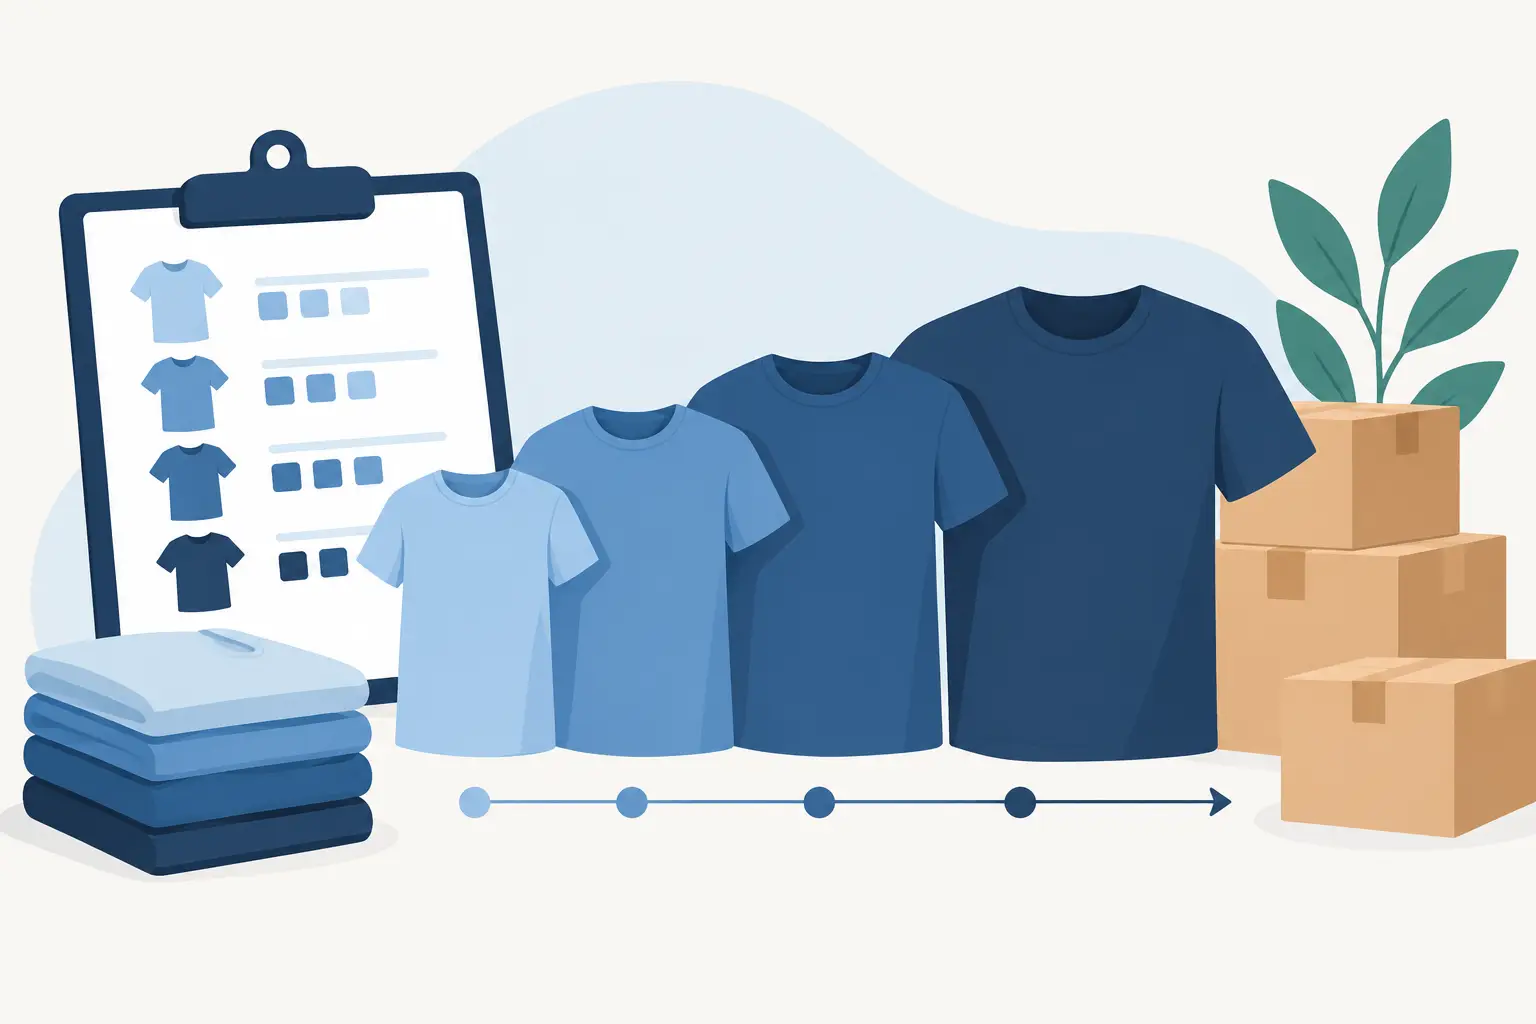
- Fit and sizing: Compare measurements against the approved size chart. Test a reasonable spread of sizes when the apparel will be issued to a diverse team.
- Placement and finishing: Confirm logo position, label details, buttons, zippers, names, numbers, packaging, and any custom accessories.
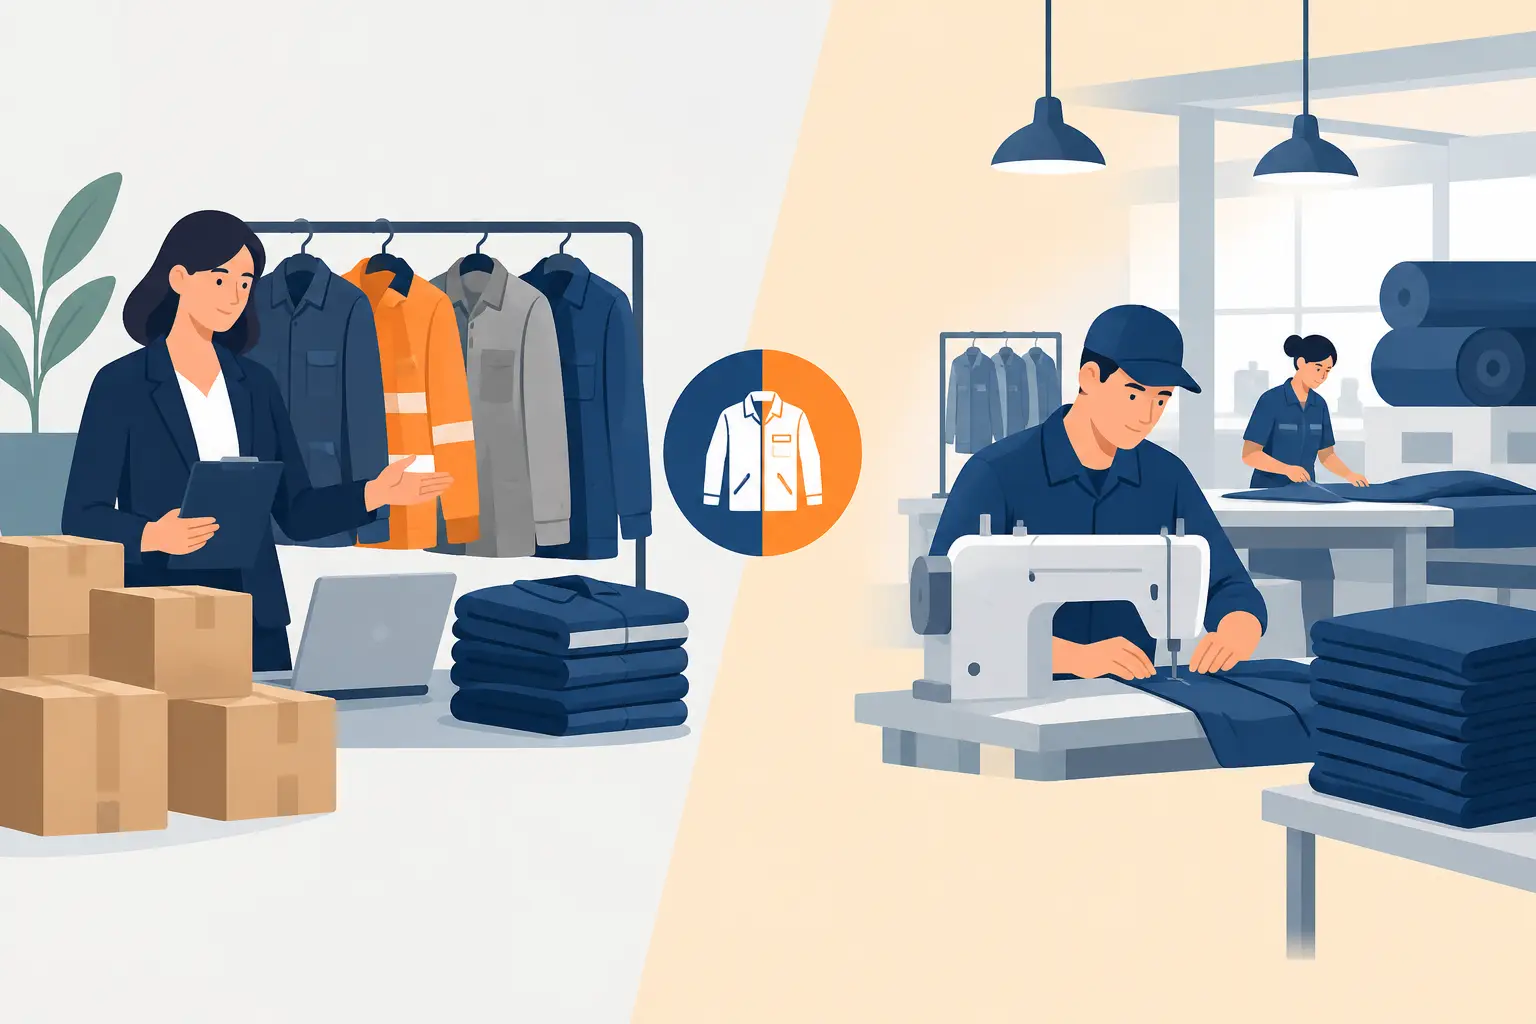
A useful sample review includes the people who will be accountable after delivery. HR may notice fit concerns, marketing may protect logo integrity, and operations may identify uniform features that affect daily work. Involving every stakeholder is not necessary for every order, but the right reviewers can prevent expensive late-stage objections.
Step 5: Test for Real Use, Not Just First Impressions
Some projects need a wear test before approval. This is especially relevant for uniforms, teamwear, activewear, and high-value corporate apparel. Ask a small group of intended users to wear the sample for normal movement, sitting, commuting, or activity. Their feedback can reveal whether a fabric feels too warm, a collar rubs, a sleeve restricts movement, or a logo placement becomes uncomfortable under a bag strap.
Where wash performance is critical, test it according to the recommended care instructions. Look for shrinkage, color loss, cracking, lifting, puckering around embroidery, or distortion at seams. One wash test will not replicate a garment’s full lifespan, but it can identify obvious concerns before the production run.
There are trade-offs. Additional sample rounds improve certainty, but each round can affect cost and lead time. The practical approach is to focus added testing where the consequences of an error are highest. A custom executive uniform program justifies more scrutiny than a simple giveaway shirt with a short campaign life.
Step 6: Approve a Locked Production Standard
Once the sample meets the brief, approval should lock the production standard. The approved sample, confirmed specification sheet, final artwork files, size breakdown, quantity, and packaging requirements become the reference for bulk manufacturing.
This matters because verbal approvals can leave room for interpretation. If a change is made after approval, document it clearly and confirm whether it affects price, production timing, or any previously approved feature. A well-managed supplier will carry out quality checks against the agreed standard throughout production, not rely on memory or an early email thread.
Before bulk production begins, make sure the order record answers practical questions: Which sample version was approved? What colors and measurements are accepted? What is the final delivery deadline? How will items be packed and sorted? Who is authorized to approve a final change? These details protect both your organization and the production team.
Common Sampling Mistakes That Create Bulk-Order Problems
The most common issue is approving too quickly because the garment is needed for an upcoming event. A rushed sample decision can create a much larger deadline problem if the full order arrives with a preventable fit or branding error. Build sample review time into the project schedule from the start.
Another mistake is judging a color from a phone or laptop screen. Digital visuals are useful for layout, but fabric and thread respond to light differently. Request a physical color reference or sample when brand color accuracy is non-negotiable.
Organizations also sometimes approve one sample but change artwork, fabric, or decoration afterward without realizing that each change can alter the result. A logo may print differently on a new fabric color, and a revised embroidery design may need a new stitch file. Treat meaningful changes as a new checkpoint, not a minor administrative update.
Finally, do not assume a standard size chart matches your workforce or audience. Fit varies by garment style, fabric, and intended cut. Review measurements and, where possible, use size samples or fit sets before committing to a bulk size allocation.
Turn Approval Into Confidence
The best custom apparel sampling process is not about adding paperwork. It is about giving your team the confidence to move into bulk production knowing that the garment reflects the identity, function, and quality level you promised. Bring a clear brief, make decisions against a physical standard, and give the sample the attention your finished order deserves. Your identity is worth getting right before the first production run begins.